
Bulk Updates is a multi-location product editor in the merchant web backend built around one idea: one run, every location. Instead of logging into each store and repeating the same edits, you edit your products once and apply the changes across every store location you select in a single run.
The system matches products across stores by UPC and Custom Code. If a product doesn't exist in one of your locations it is simply skipped there, nothing is created or broken, and the skip is reported back to you. Supporting details like taxes, categories, vendors, brands, and tags are matched by name and created automatically in stores where they're missing.
⚠️ Important. Products without a UPC cannot be updated across stores. Make sure the items you want to bulk-edit carry a UPC before starting a run.
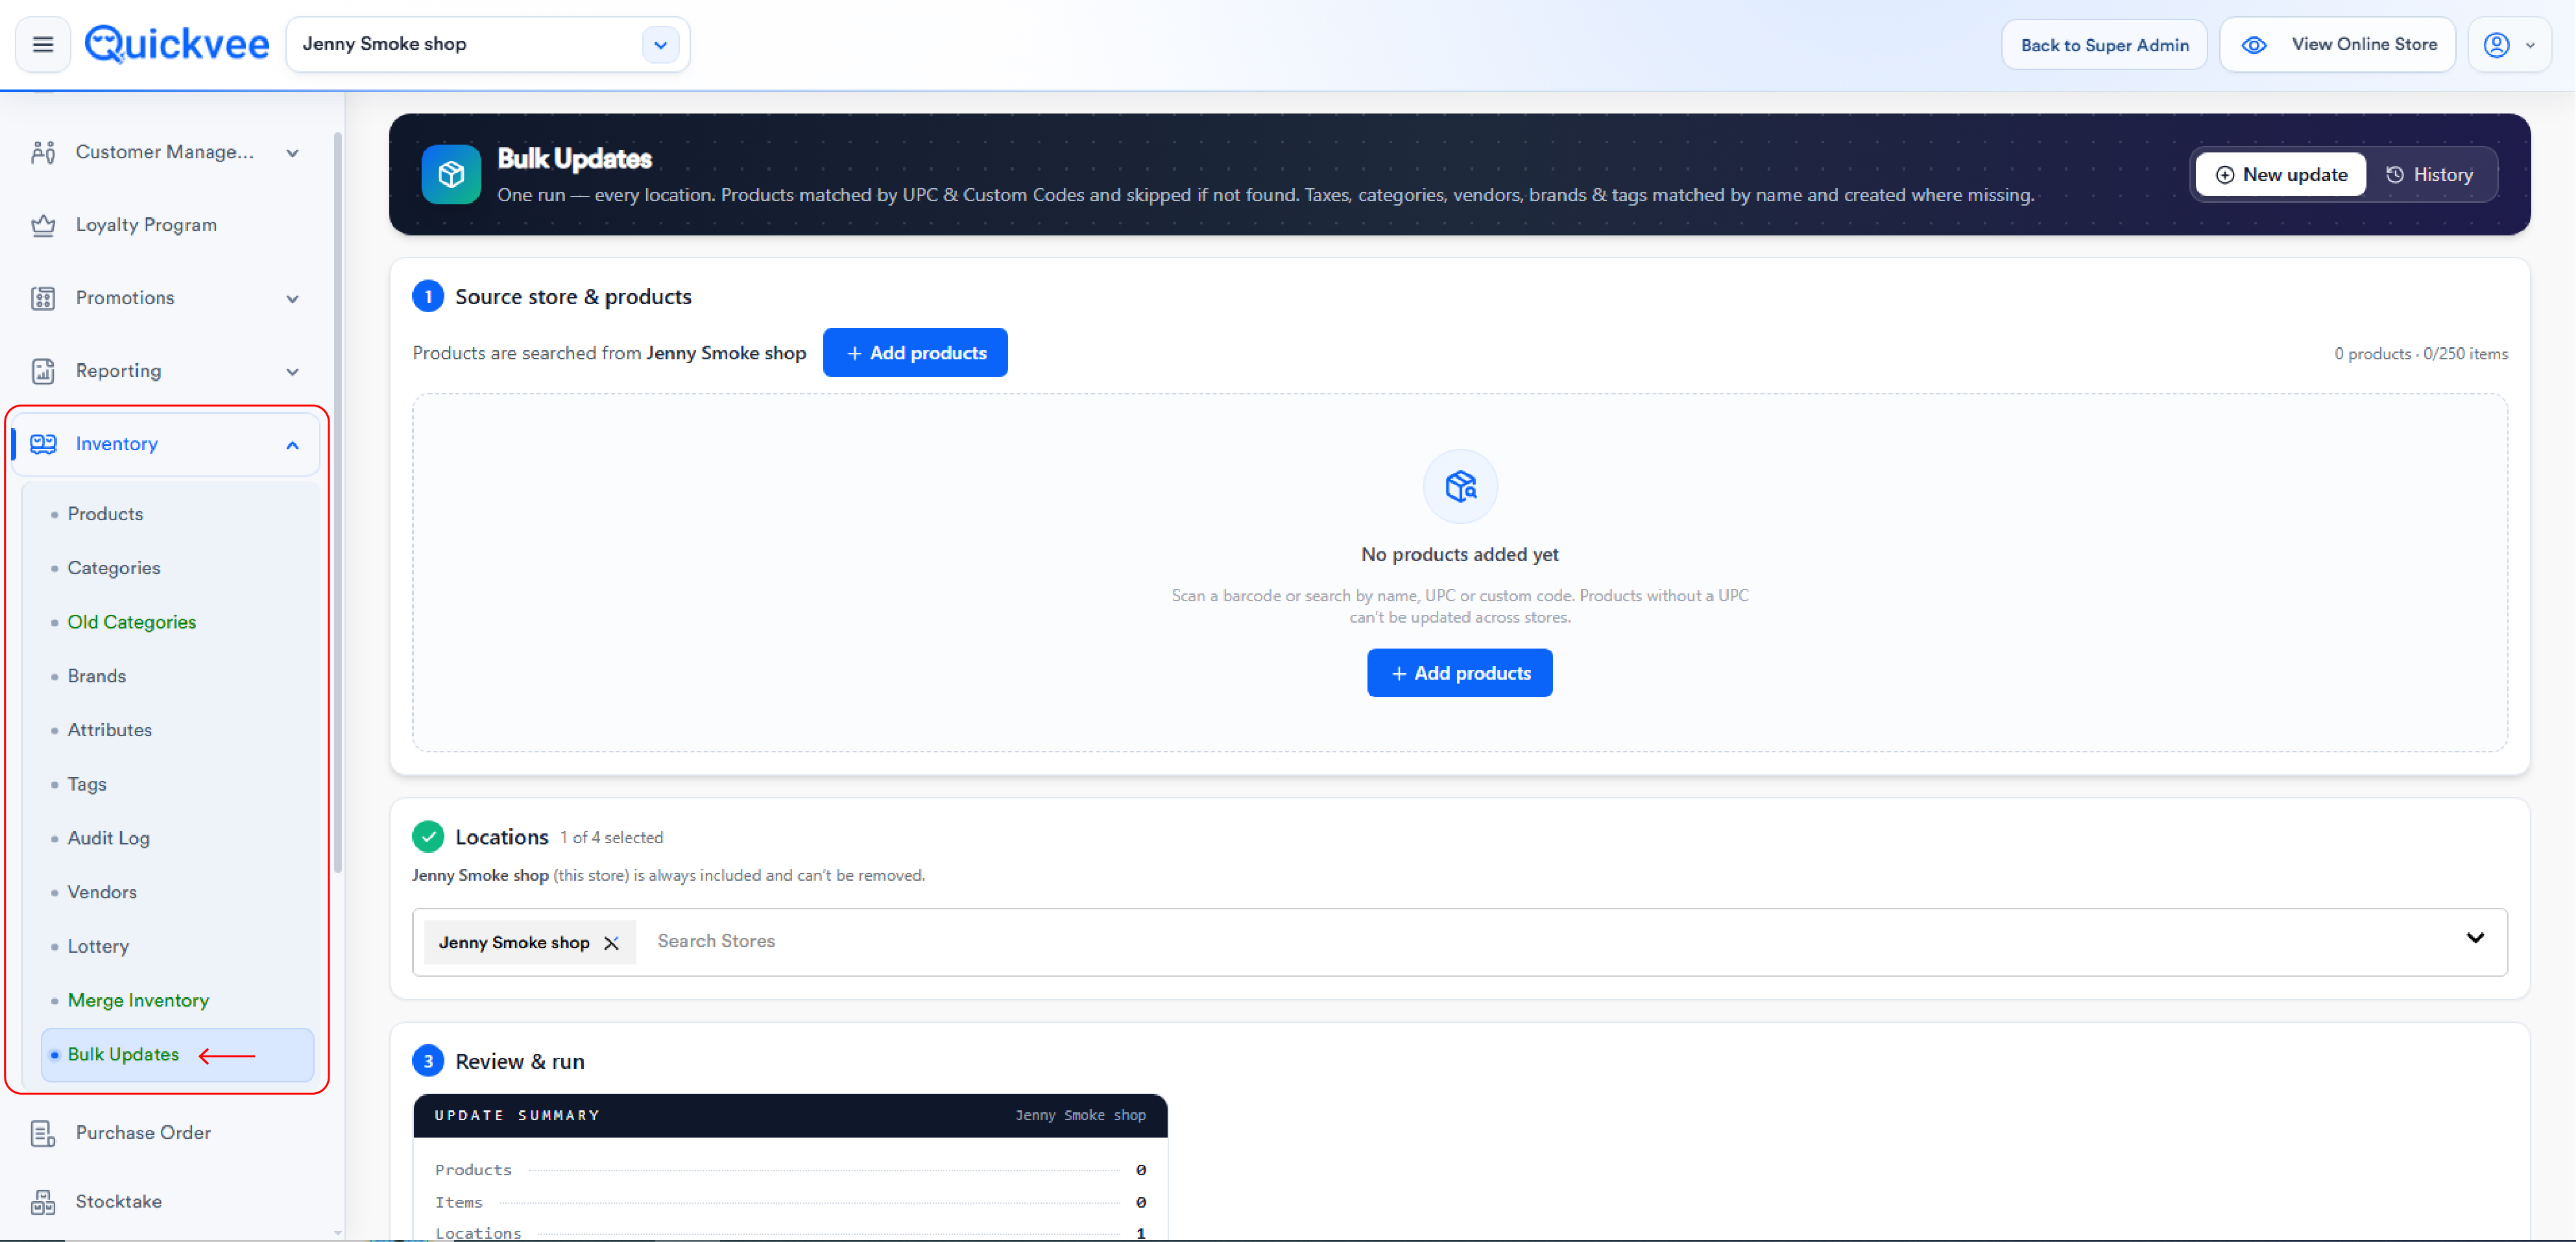
Where to find it
Bulk Updates is a module in the left navigation of your store backend. Open it while working in a store context (the header shows your active store selector and a Back to Super Admin link). The module has two top-level actions: New update and History.
Running a new update
A bulk update walks through three steps.
Step 1, source store & products
-
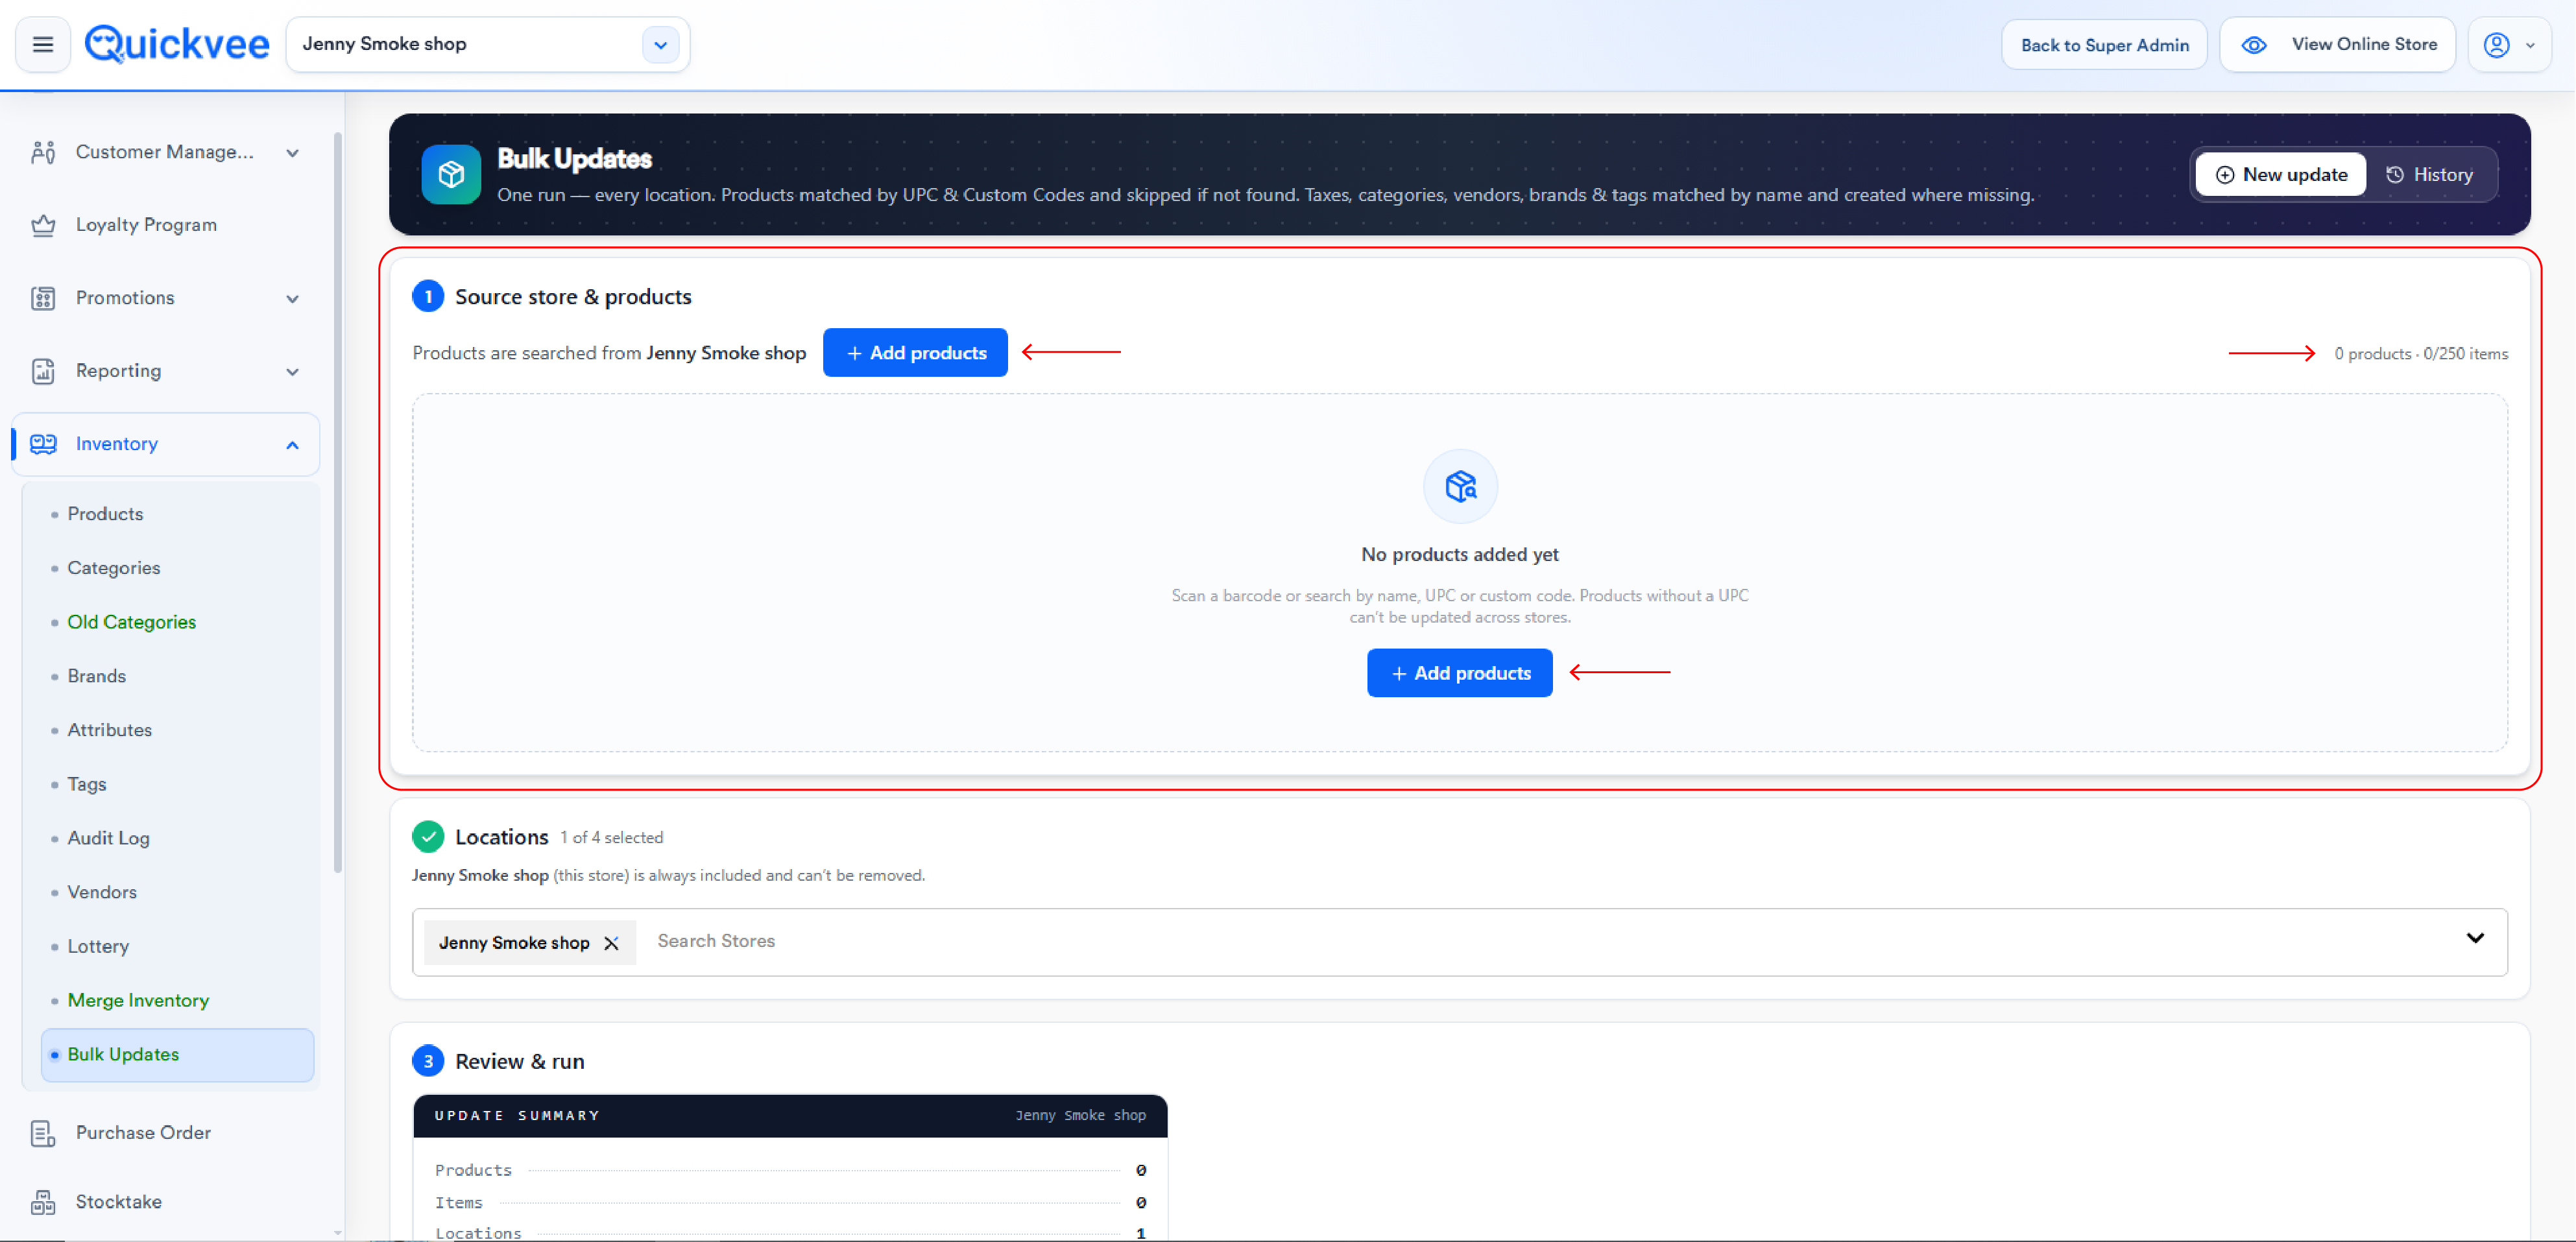
Your current store acts as the source store, products are searched from its inventory.
-
Click + Add products, then scan a barcode or search by product name, UPC, or custom code. Until you add something, the screen shows No products added yet.
-
Keep an eye on the counter, each run supports up to 250 items, shown as X products · Y/250 items. (Variants count as items.)
Step 2, locations
-
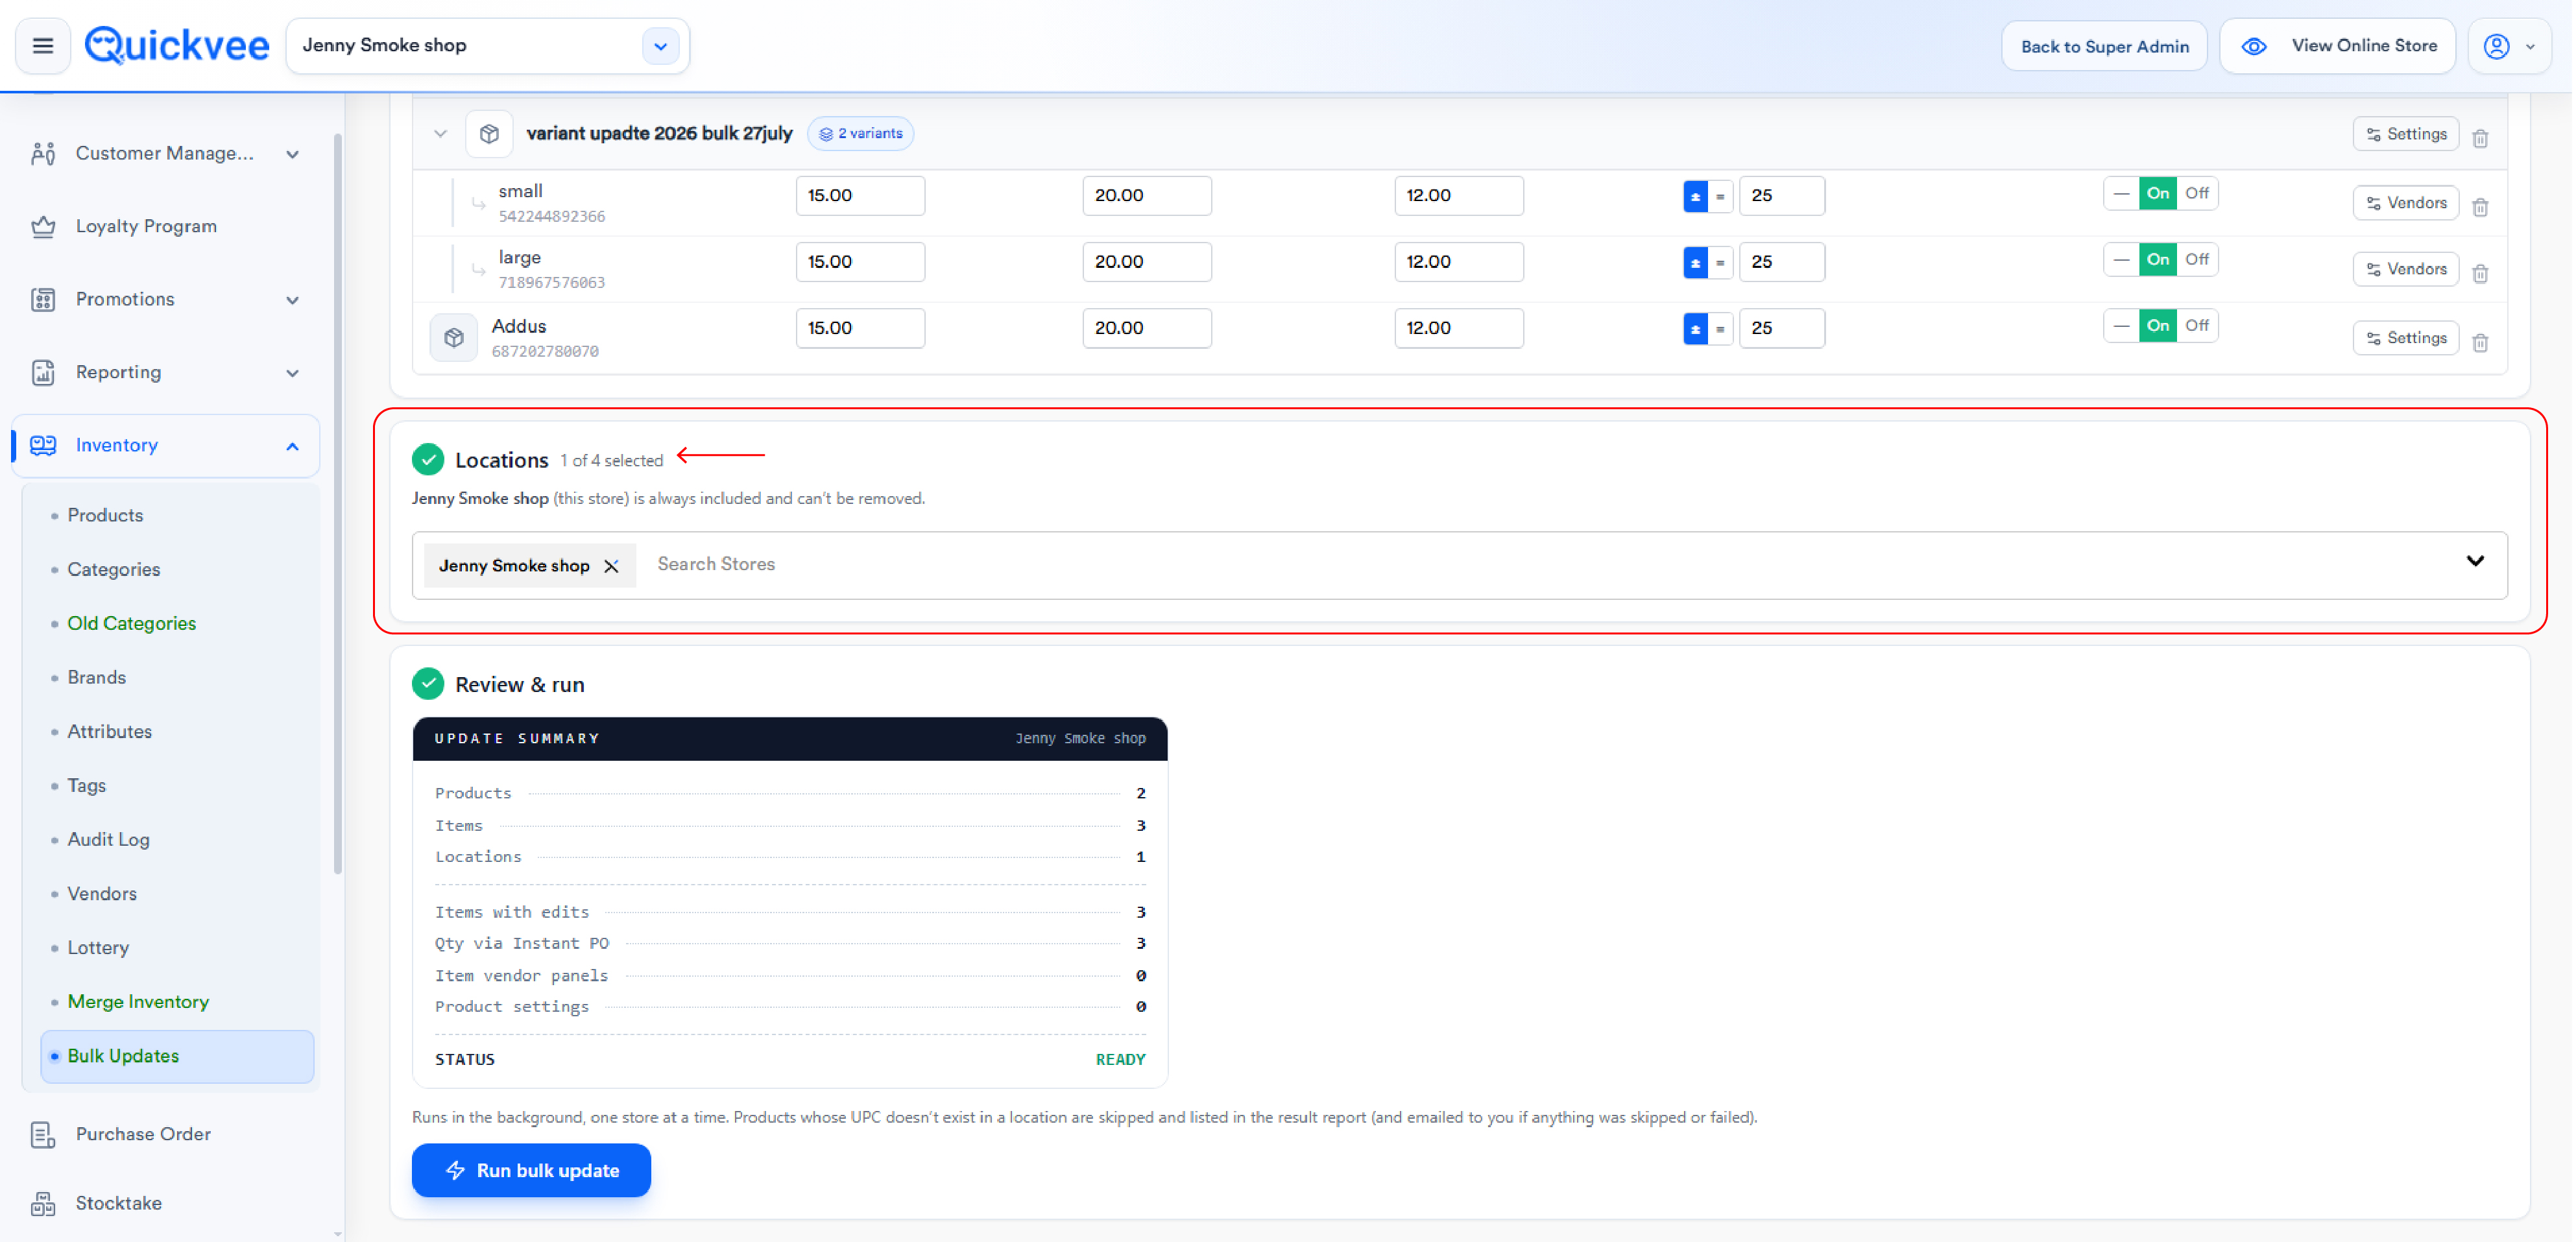
Choose which stores the update applies to. The header shows X of 4 selected (based on your location count).
-
The source store is always included and can't be removed.
-
Add other locations from the Search Stores dropdown, or use Select All.
Step 3, review & run
-
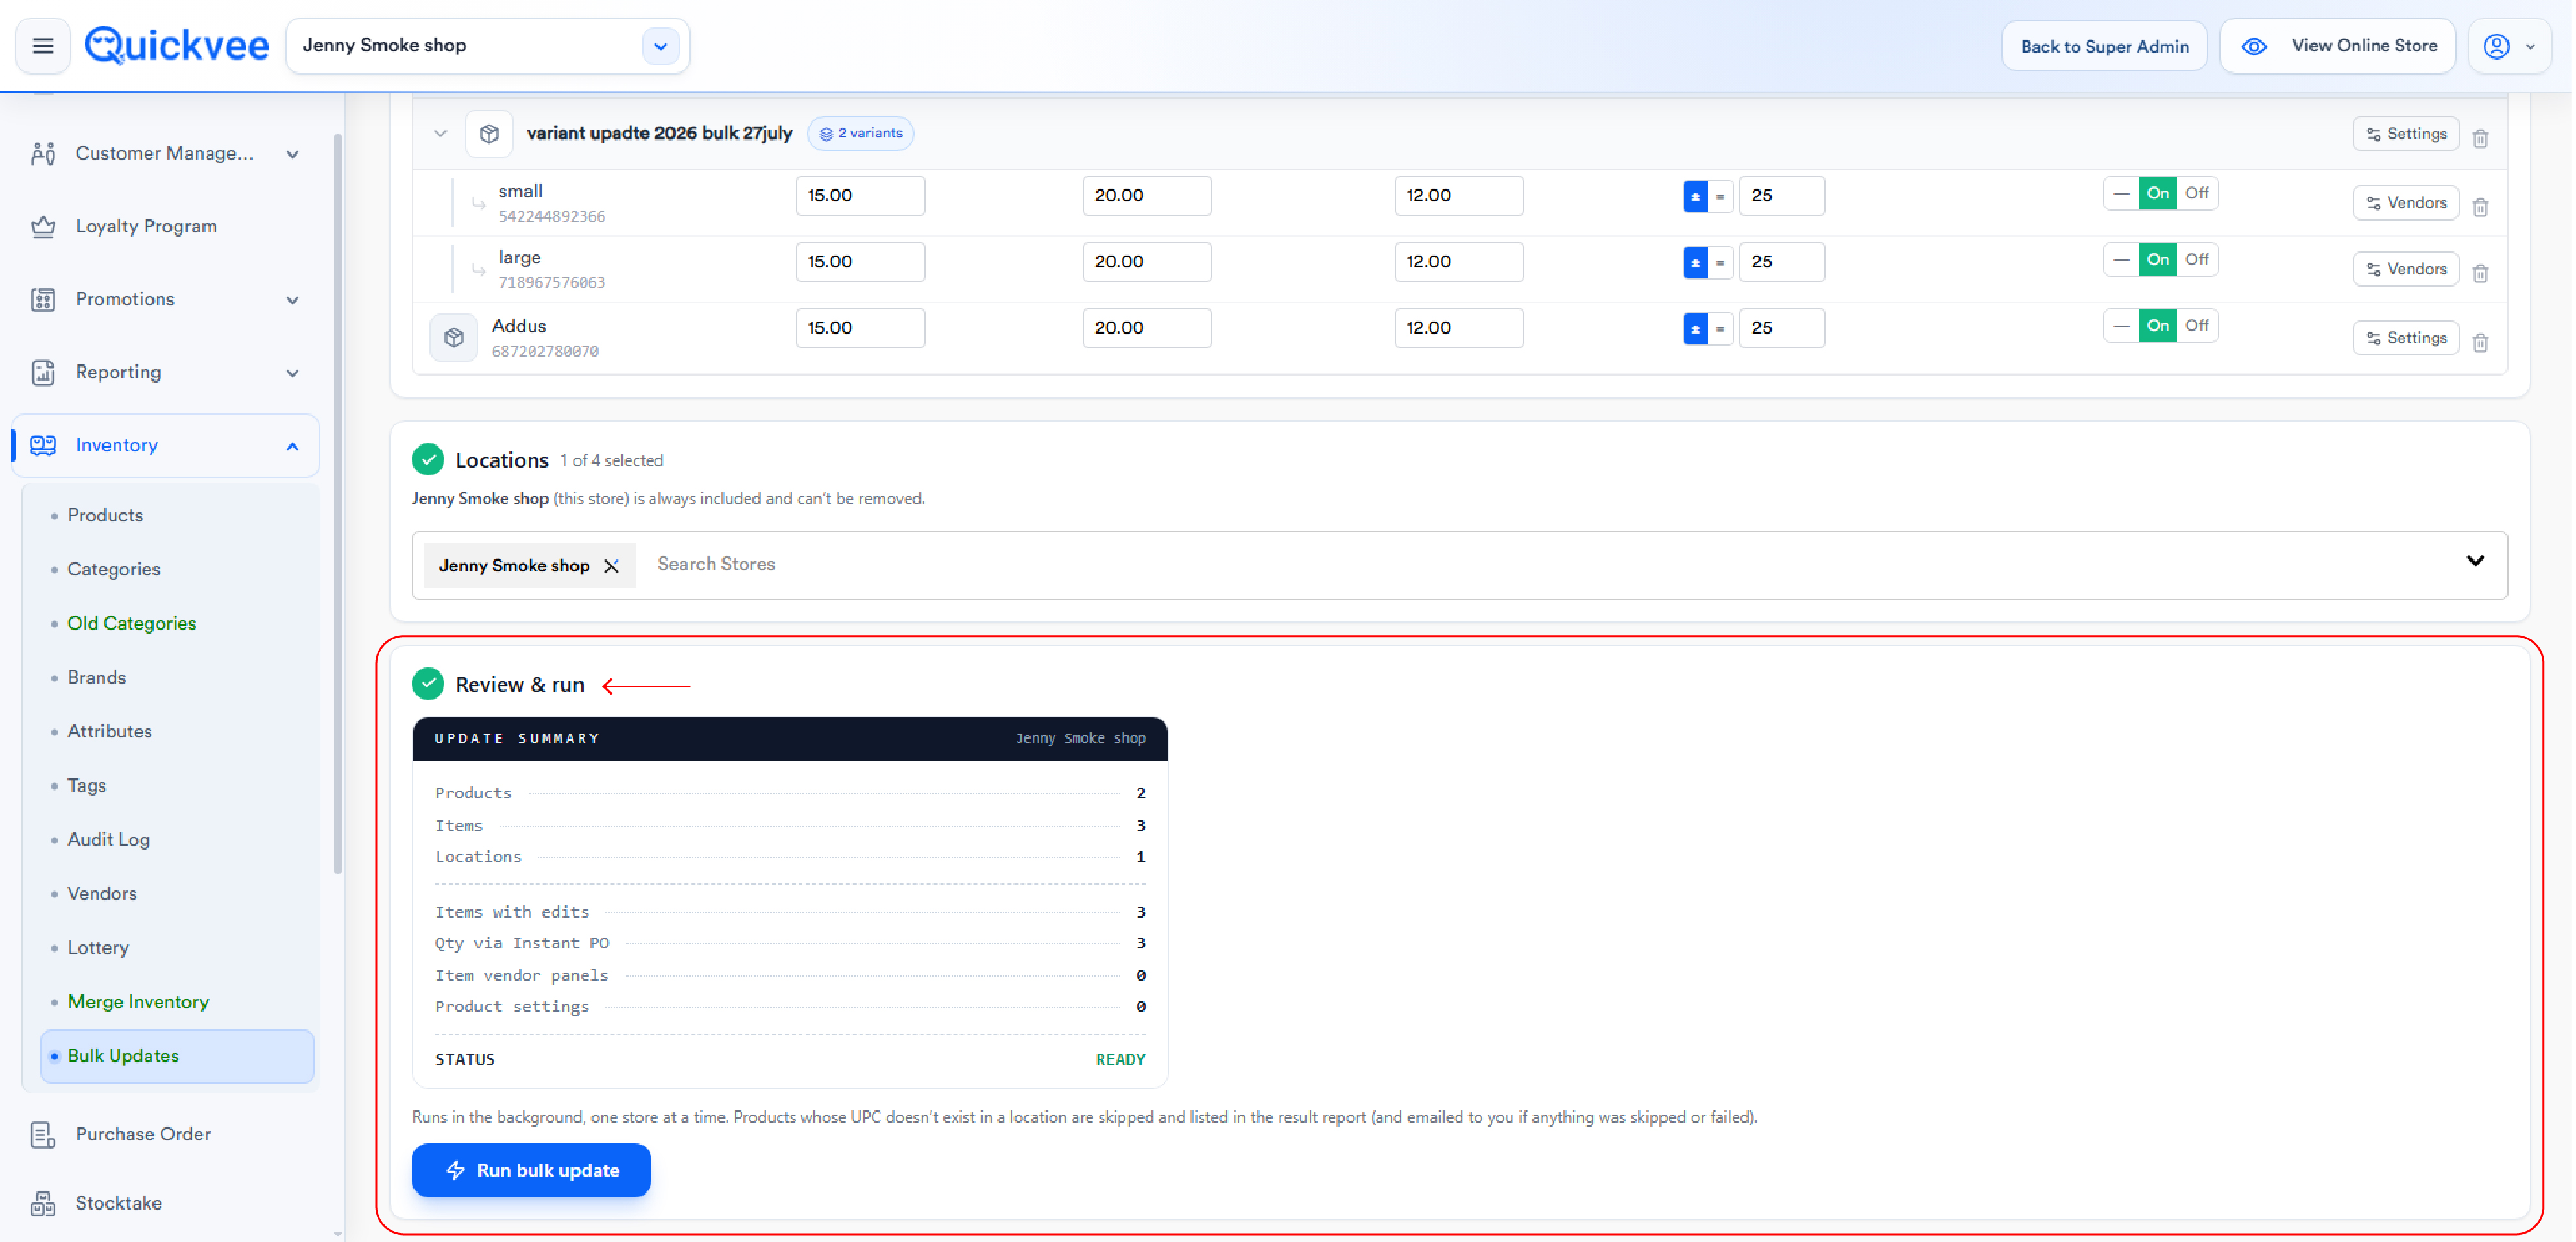
The Update Summary panel shows counts for Products, Items, Locations, Items with edits, Item vendor panels, and Product settings, with the run status (WAITING).
-
Click Run bulk update, the button stays disabled until at least one product is added.
-
Runs execute in the background, one store at a time, so you can keep working. Products whose UPC doesn't exist in a given location are skipped and listed in the result report. If anything was skipped or failed, the report is also emailed to you.
Choosing what to edit
Under What do you want to edit?, pick the fields you want to change. Each selected field opens its own column in the product table, and you enter values per item. Leaving a cell blank (shown as "—") keeps that item's current value.
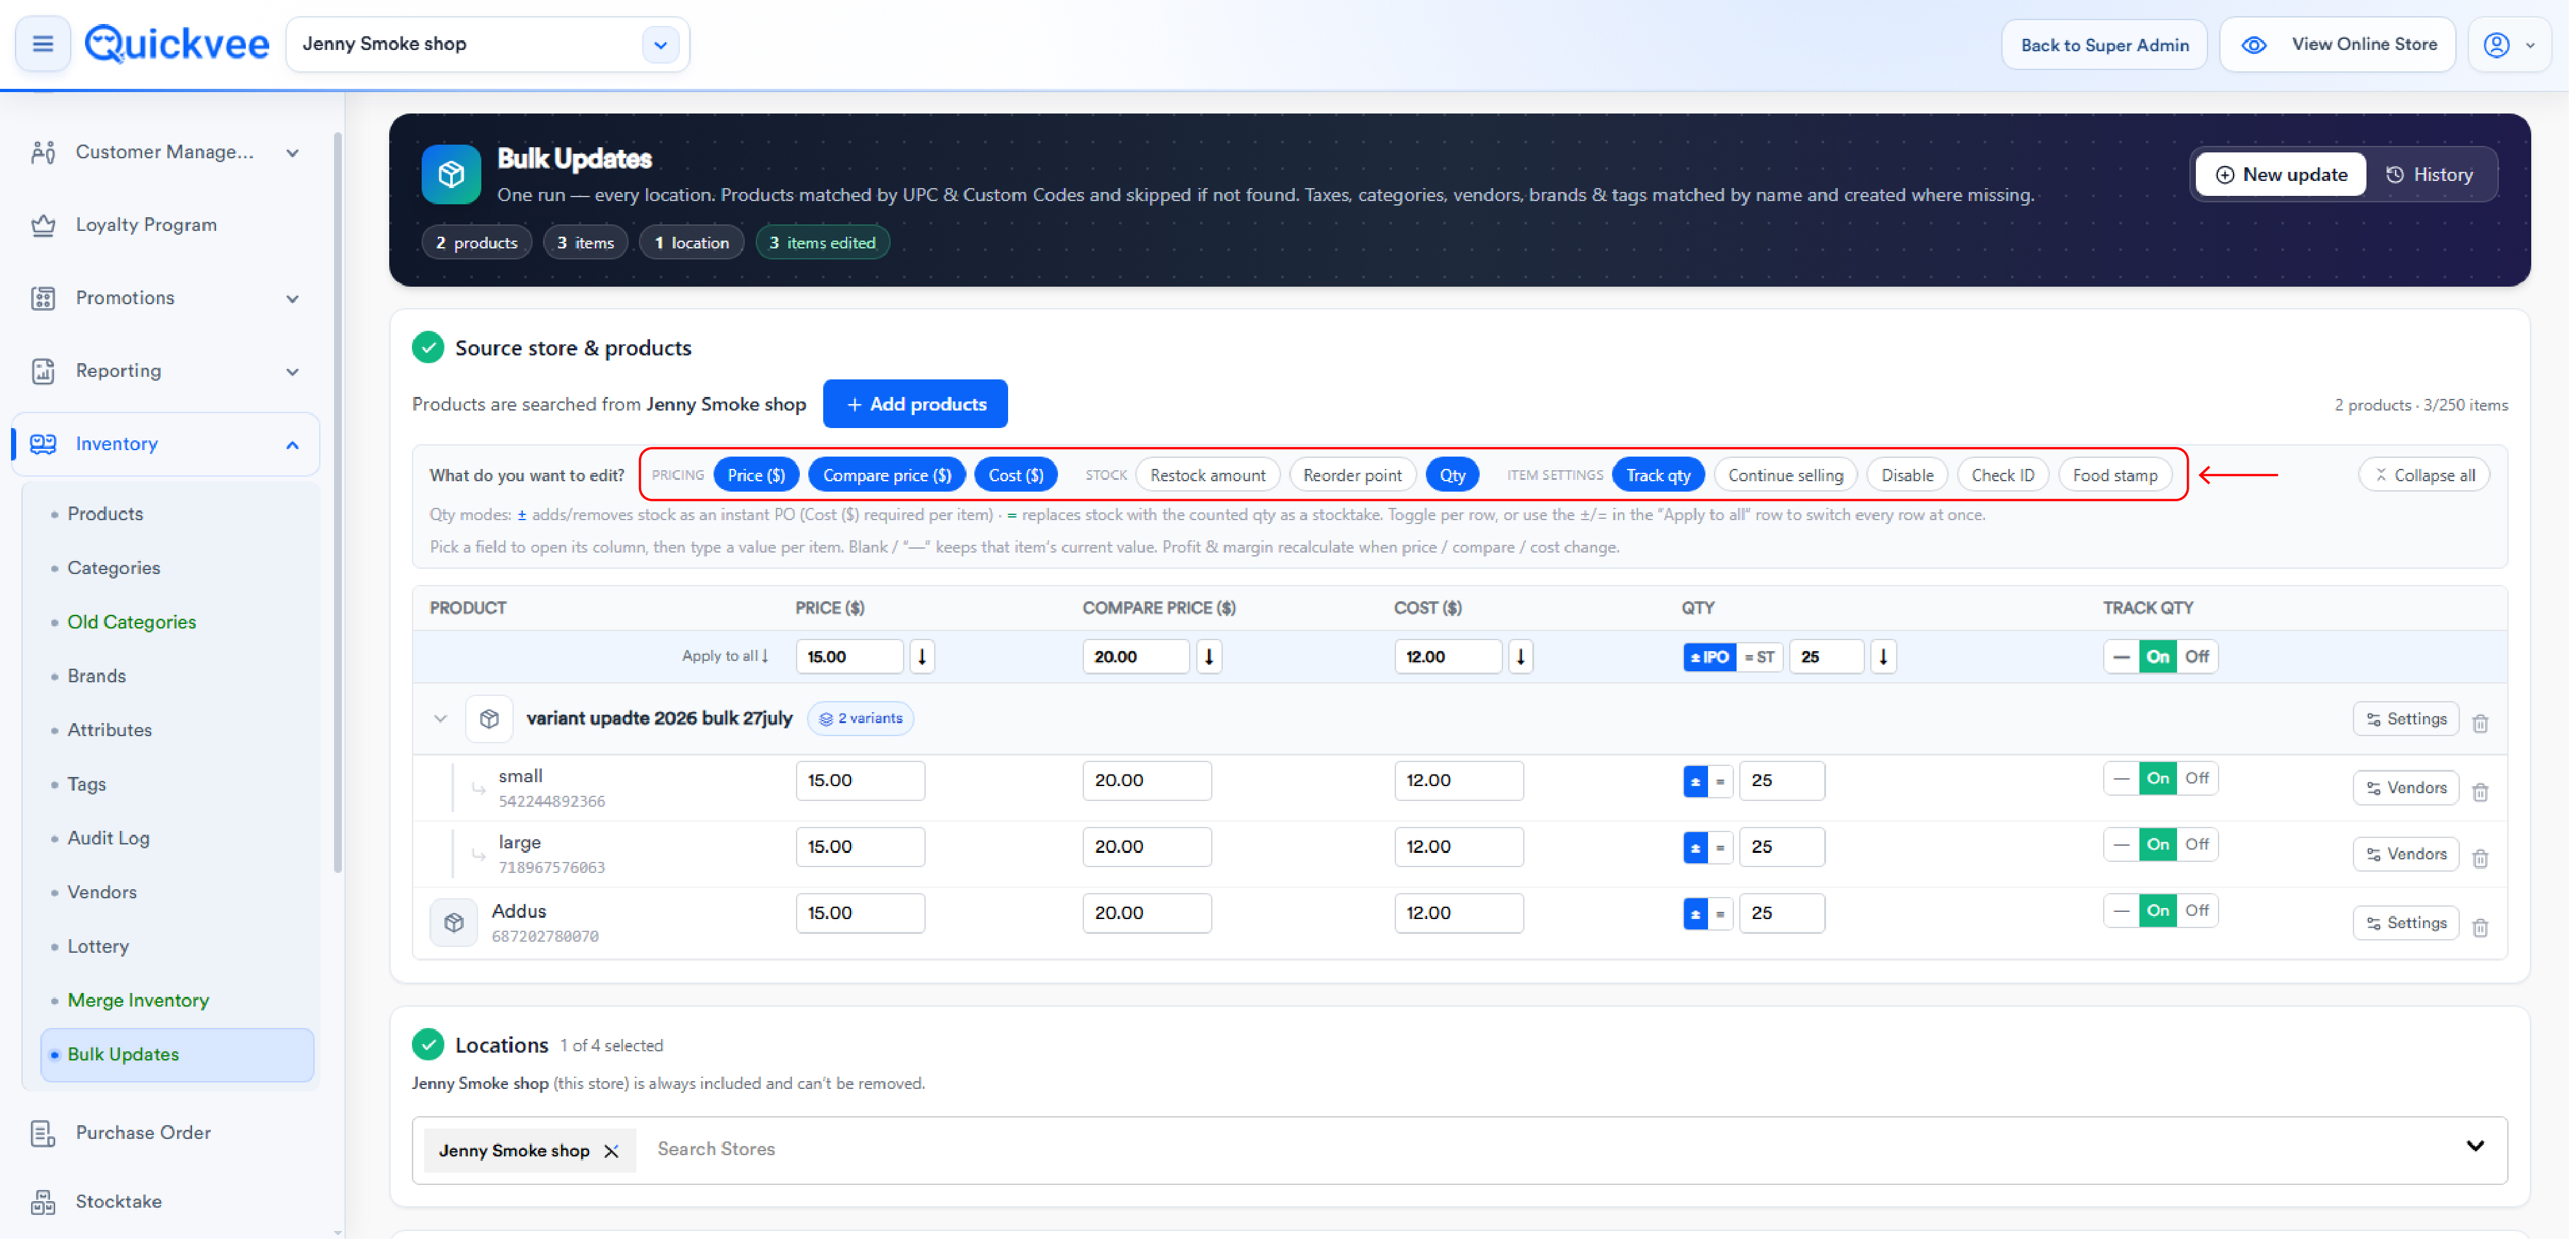
|
Group |
Fields |
|---|---|
|
Pricing |
Price ($), Compare price ($), Cost ($) |
|
Stock |
Restock amount, Reorder point, Qty |
|
Item Settings |
Track qty, Continue selling, Disable, Check ID, Food stamp (On / Off / — toggles) |
💡 Tip. Use the Apply to all row at the top of the table to push a single value down an entire column instead of typing it item by item.
Profit and margin recalculate automatically whenever you change price, compare price, or cost, no manual math needed.
Working with variants
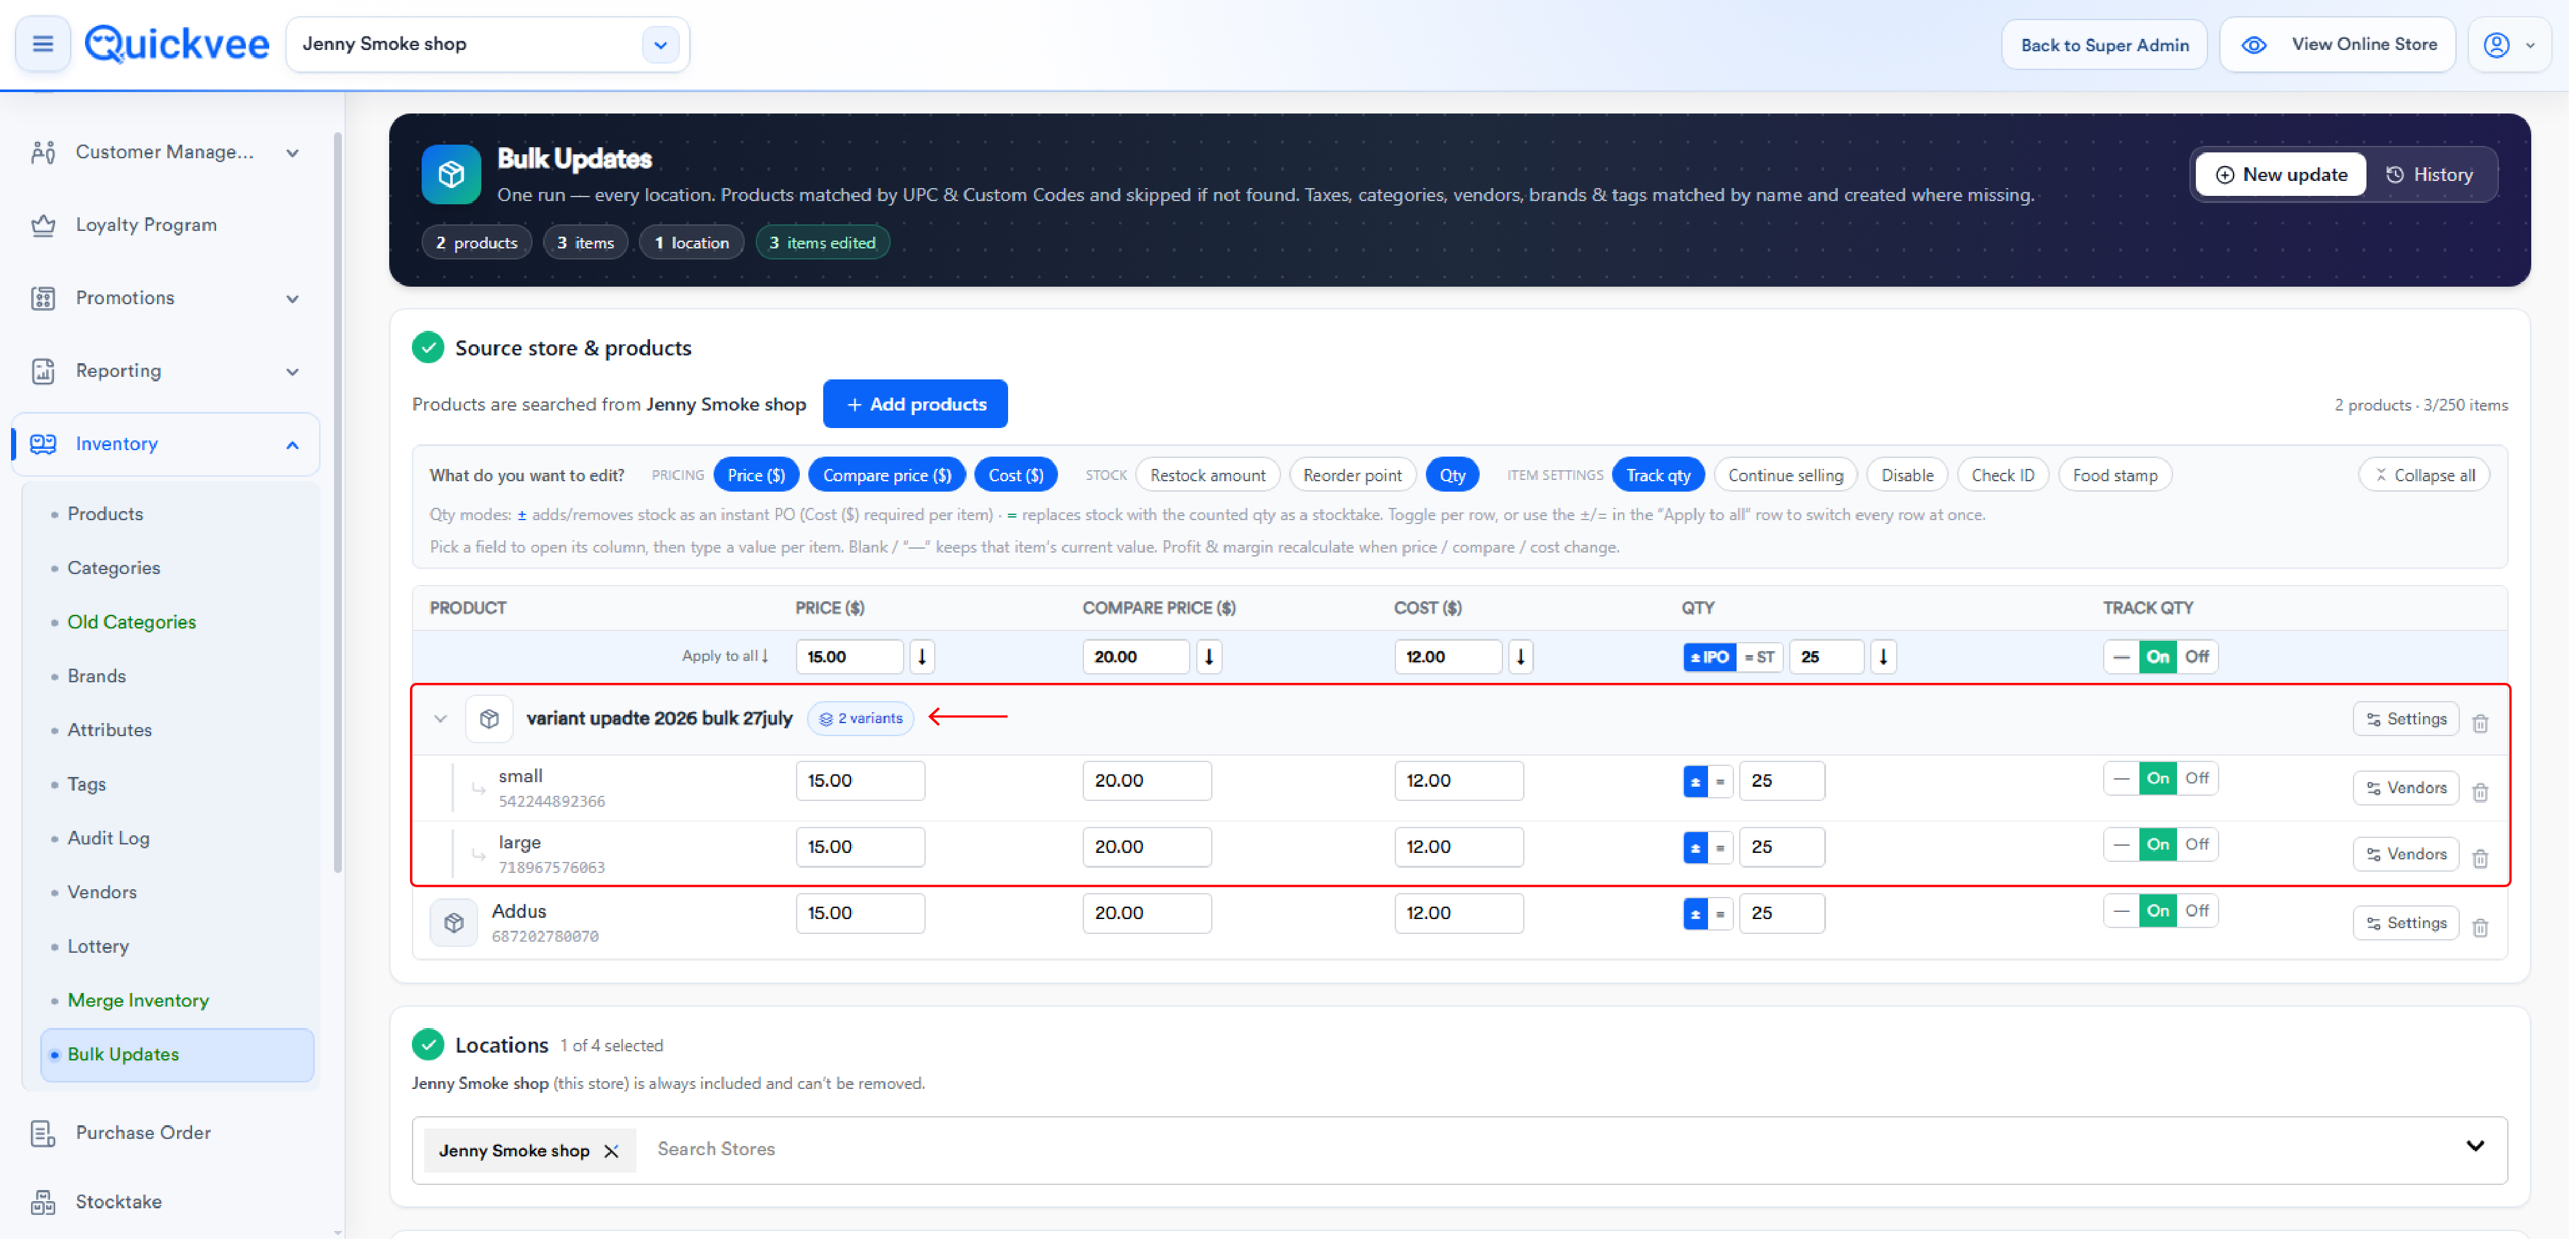
Products with variants expand to show each variant as its own editable row. Every row carries its own values and its own Vendors panel, so a "Small" and "Large" of the same product can be priced and sourced independently, and each variant's edits apply to its matching row in every store.
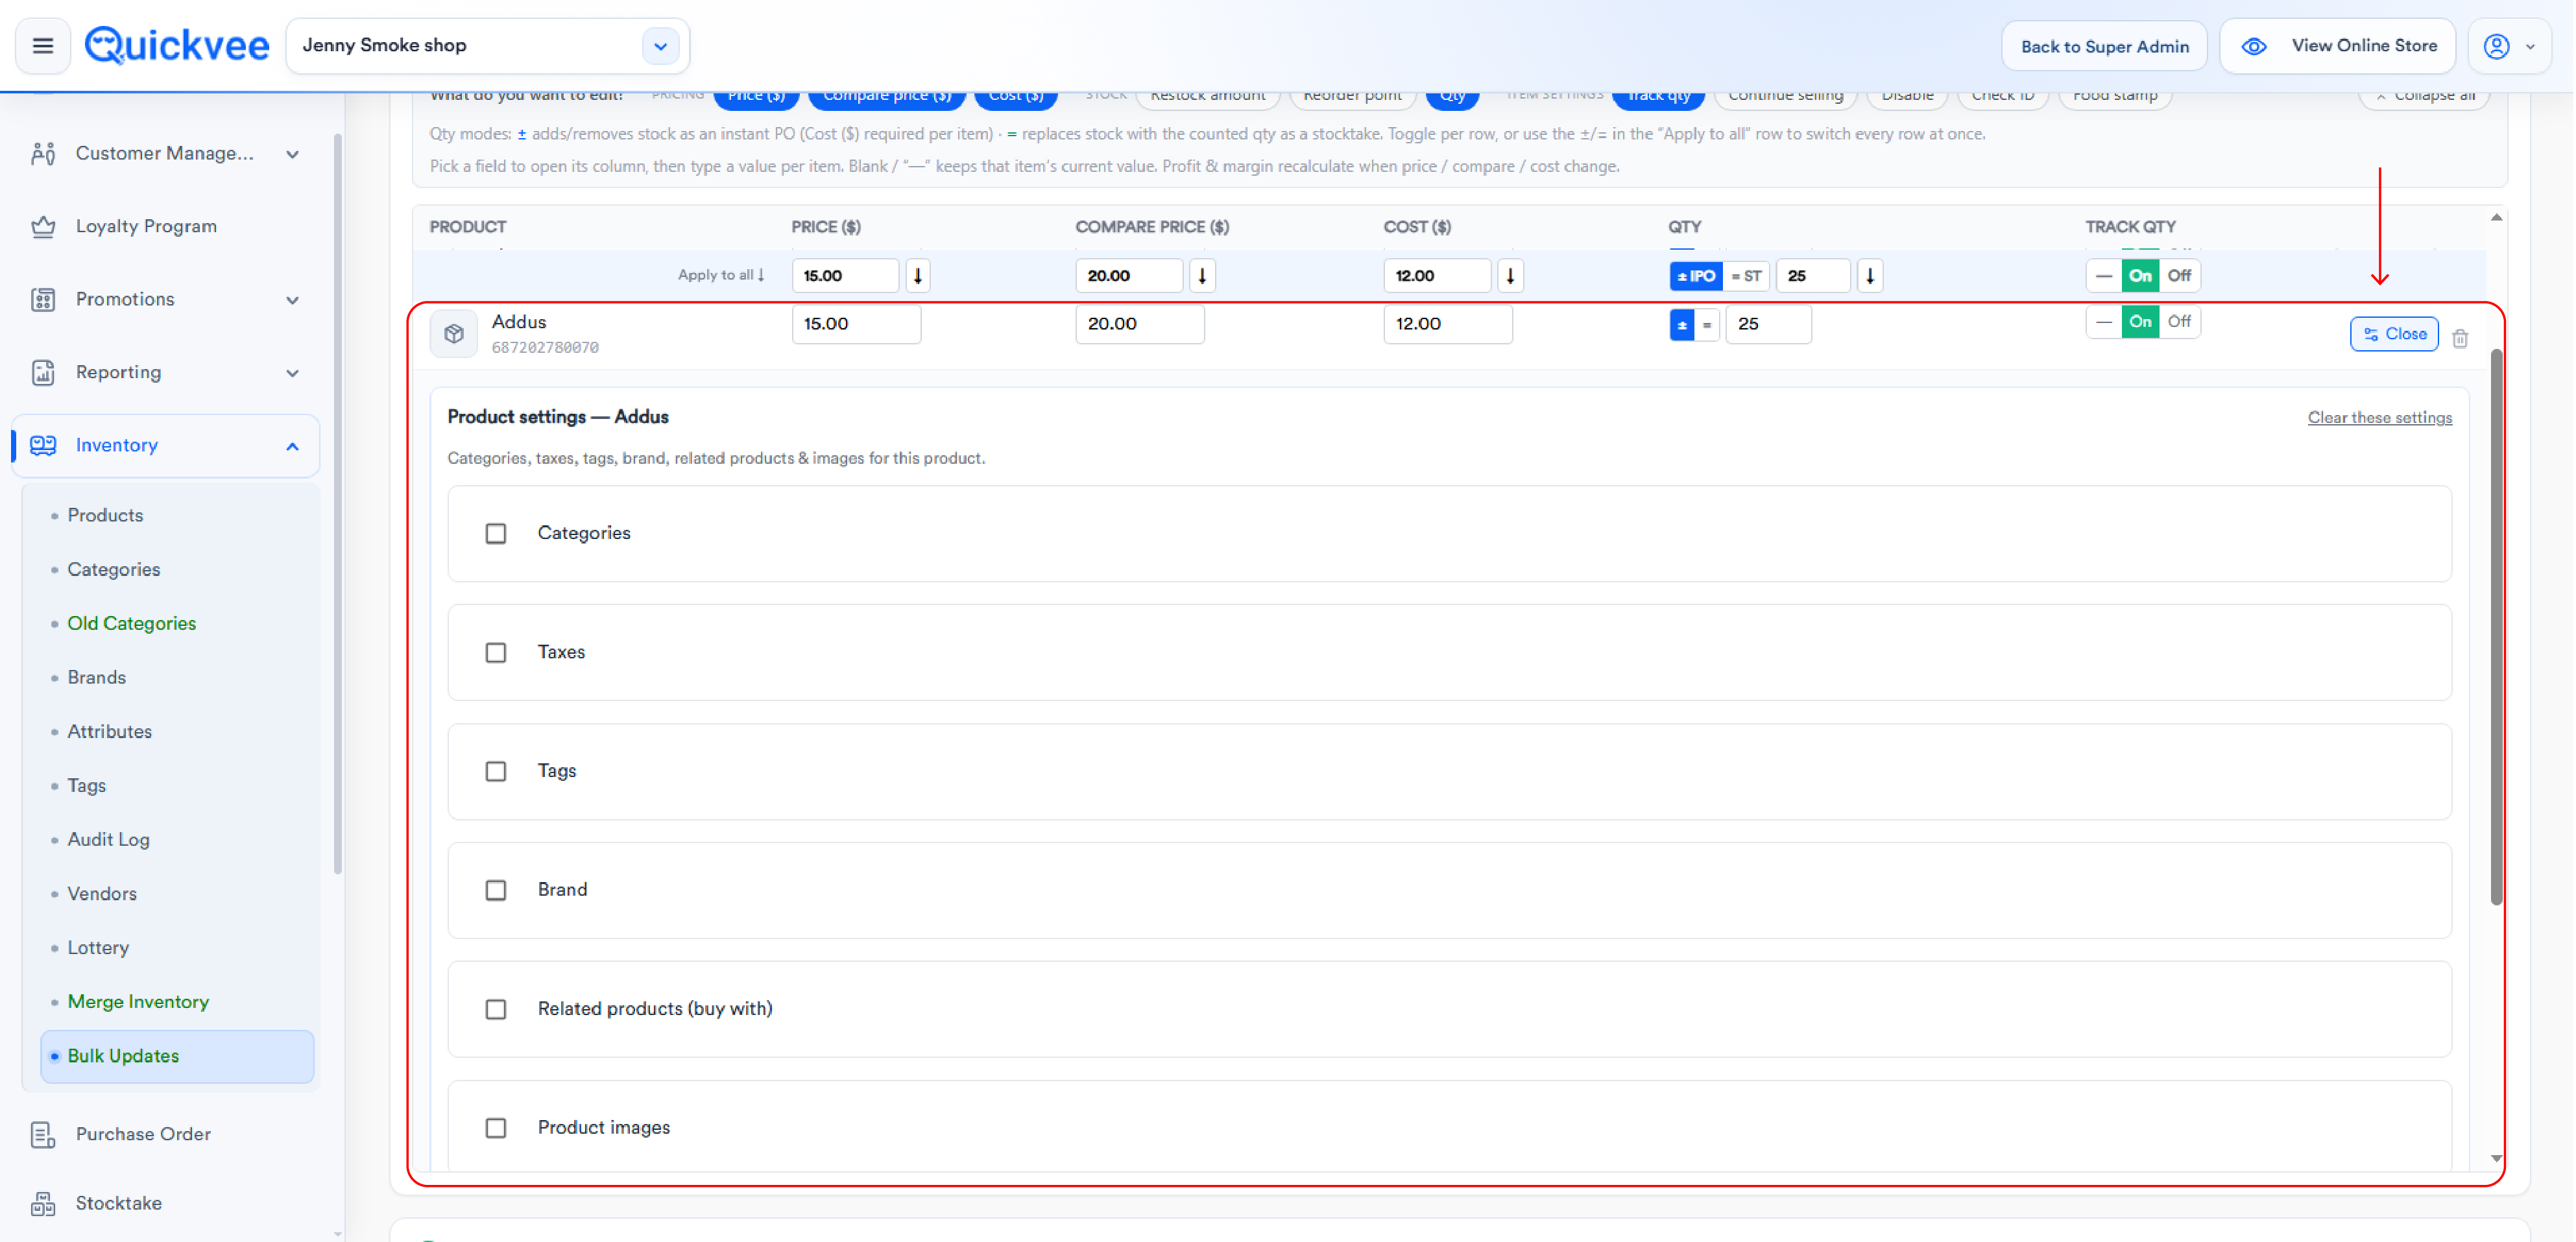
Product settings panel
Open Settings on a product row to edit details shared by the product and all its variants. Each section offers a Replace existing vs. Add to existing choice, so you control whether the run overwrites or supplements what each store already has:
|
Section |
Details |
|---|---|
|
Categories |
Searchable selector, up to 5 |
|
Taxes |
Searchable selector, up to 5 |
|
Tags |
Searchable selector, up to 8 |
|
Brand |
Searchable selector |
|
Related products (buy with) |
Added by UPC |
|
Product images |
Upload JPG / PNG / WEBP / GIF, max 5MB each, up to 10 per product |
Use Clear these settings to reset the panel.
✅ Best practice. Add to existing is the safer default when stores maintain their own category or tag structures; use Replace existing only when you want every location to end up identical.
Vendors panel
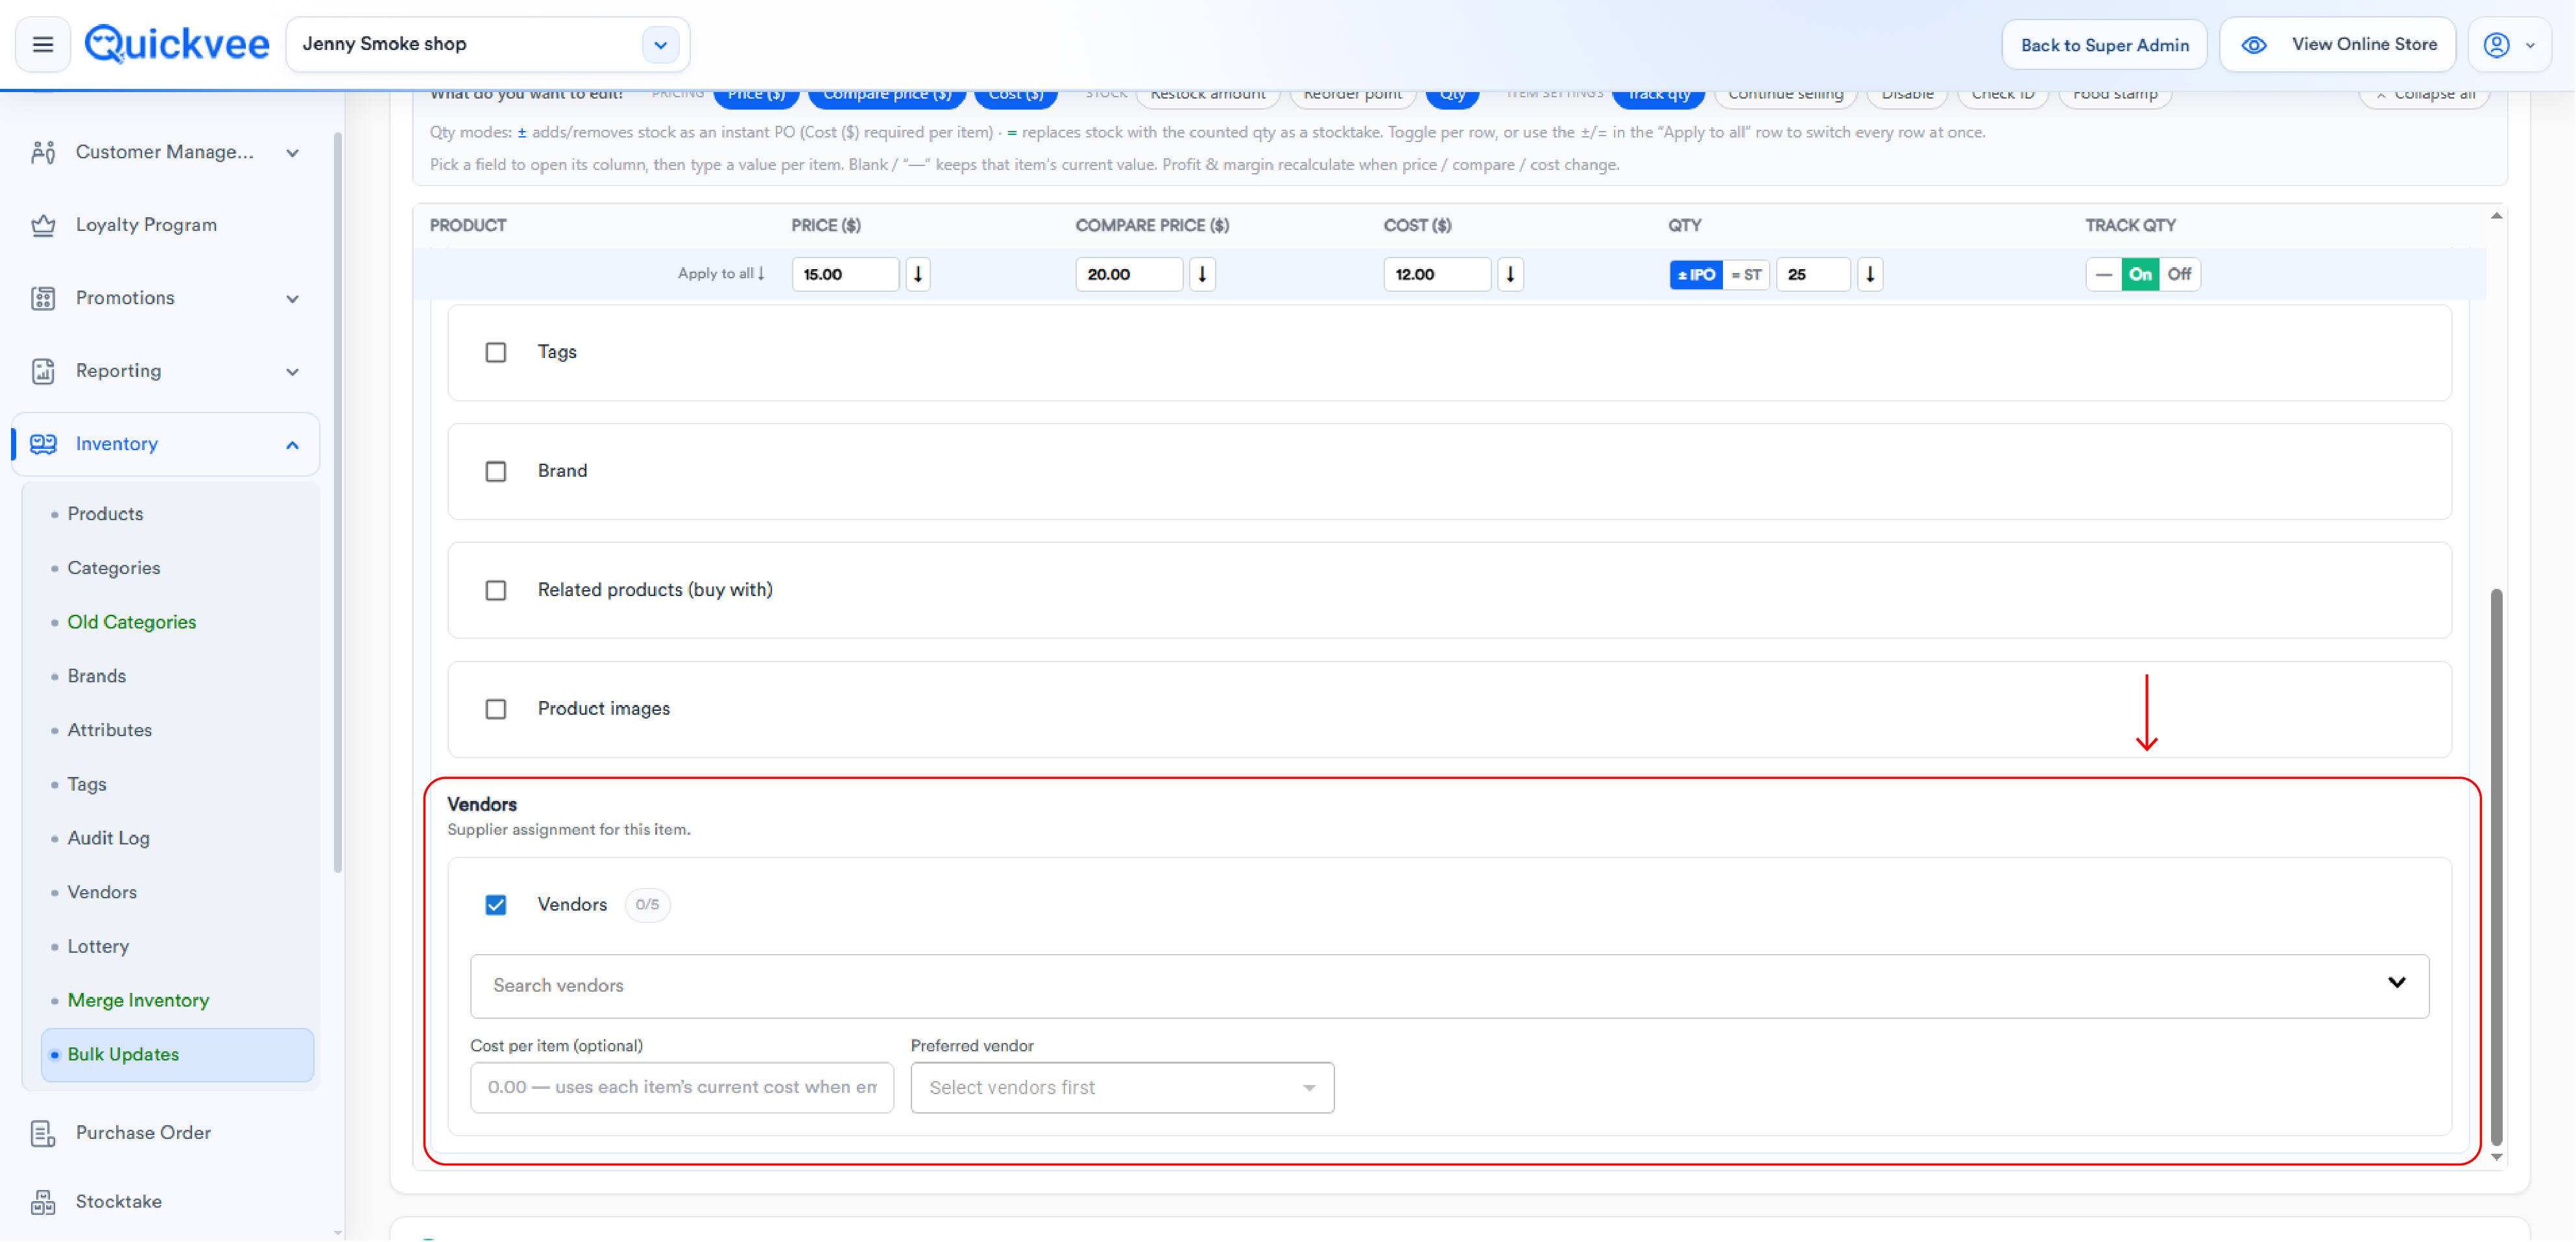
Each variant row has its own Vendors panel for supplier assignment, applied to that row in every store:
-
Vendors, search and assign up to 5 vendors.
-
Cost per item, optional; when left blank, each item's current cost is used.
-
Preferred vendor, mark one vendor as preferred.
History
The History tab lists every bulk-update job with Job #, Submitted (date and submitting store), Fields edited (e.g. Per-product: Price, Compare price), Products, Stores, and Status. The list is paginated.
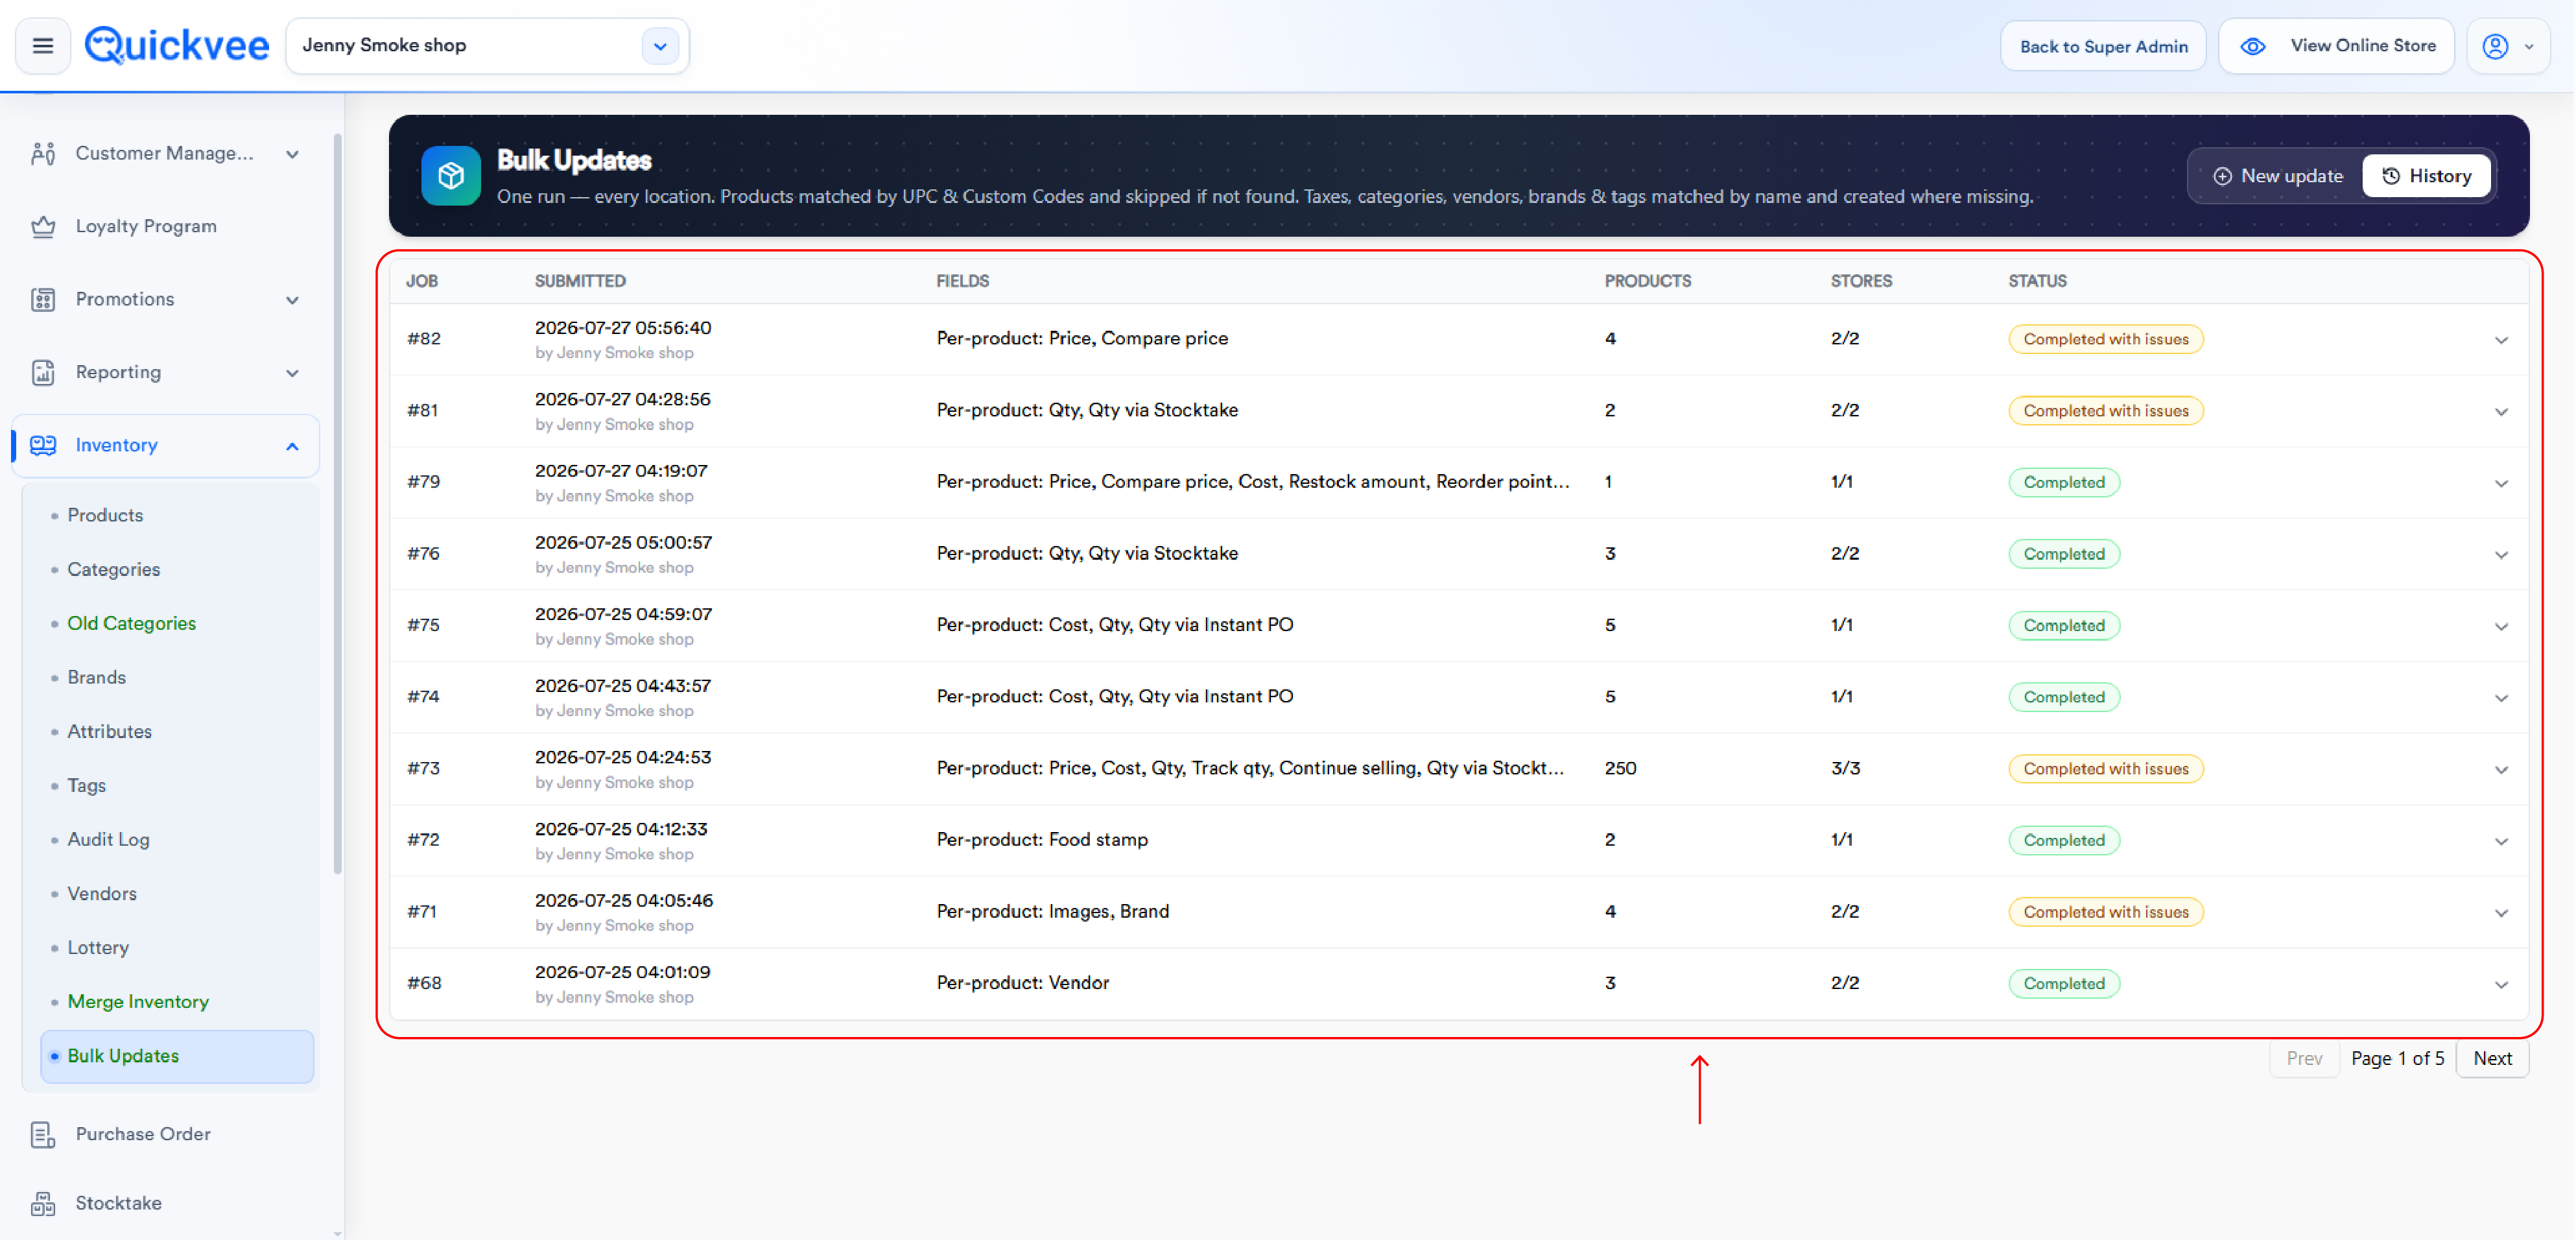
|
Status |
Meaning |
|---|---|
|
Queued |
Waiting to run. Queued jobs can be cancelled. |
|
Completed |
All stores processed successfully. |
|
Completed with issues |
The run finished but some items were skipped or failed, check the breakdown. |
Expanding a job shows a per-store breakdown: store name with merchant ID, status, products updated, variants updated, skipped count, and details. Skipped UPCs are listed explicitly per store, so you know exactly which products didn't exist where.
💡 Tip. A skipped UPC isn't an error, it means that product simply doesn't exist in that location. If it should, create the product there (with the same UPC) and include it in your next run.
Matching rules at a glance
|
Entity |
Matched by |
If not found |
|---|---|---|
|
Products |
UPC and Custom Code |
Skipped in that location and reported |
|
Taxes, Categories, Vendors, Brands, Tags |
Name |
Created automatically in that location |
Related
See Customer Groups & Group Loyalty for how customer and loyalty data is shared across grouped stores, and Manage categories in the web backend for the category structure Bulk Updates matches against.